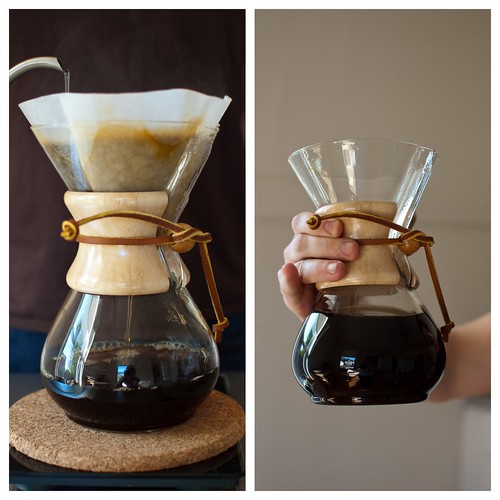
For someone like me, it isn't hard to view coffee as a work of art. Today's method of coffee brewing is featured in the permanent collection at MoMA. Yes, you too can make art everyday at breakfast!
The main difference between a Chemex and other drip brewers is the special chemically-bonded filters. These filters lend the coffee a bright, clean flavor that is quite refreshing and delicious. Personally, this is my favorite method of brewing coffee because it enhances the flavors that I enjoy most in my favorite coffees.
Art, I tell you.
Makes 30 ounces of brewed coffee; serves 2-3
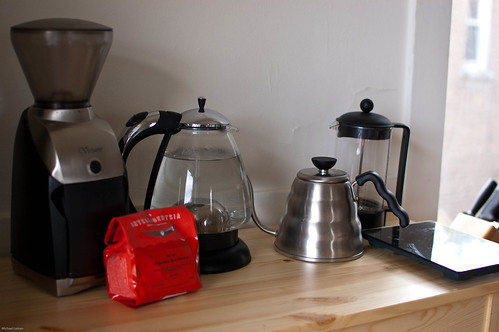
What you need:
- A Chemex Coffeemaker
- One Chemex filter
- Grinder (I use a burr grinder)
- Food scale
- Electric water kettle or tea pot
- If you're me, a Hario kettle to ensure precise distribution of water. 1
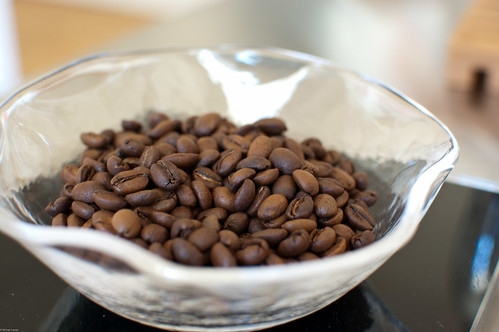
- 56 grams of freshly roasted (no more than two weeks from the roast date) whole coffee beans (like this, this, or this)
- 42 ounces of filtered water
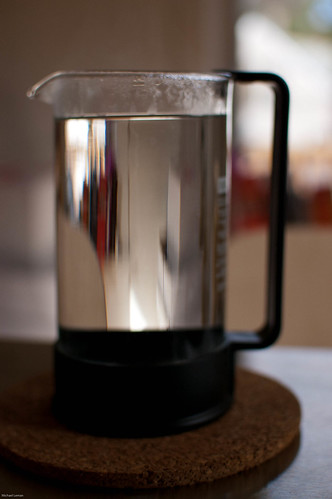
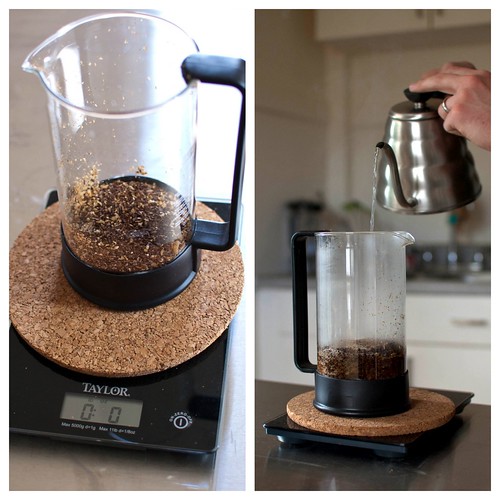
STEP 1: Boil filtered water in electric water kettle or tea pot.
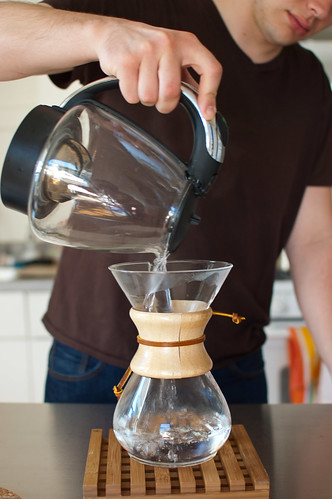
STEP 2: Place filter on the top of the Chemex as directed on the box (three of the four sides should be toward the spout).
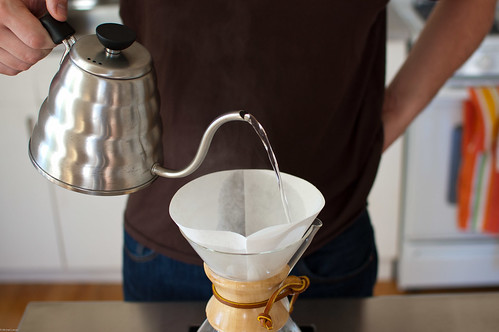
STEP 3: Pour plenty of hot water through the filter to get rid of the papery taste. Once wet, tip Chemex over the sink to get rid of the rinse water. Don't worry about the filter falling out; it will stick well to the sides and can be hard to put back if you remove it.
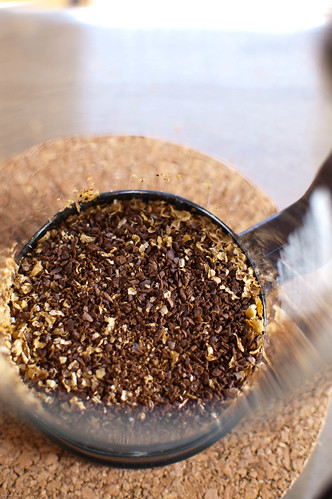
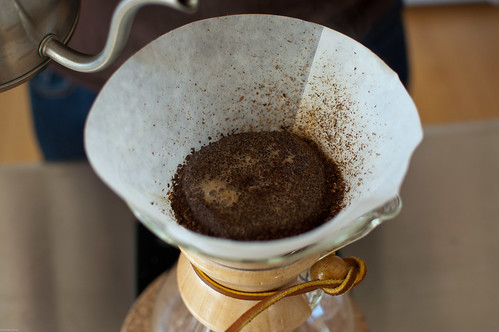
STEP 4: Place Chemex on scale. Grind coffee, add to the filter, and hit tare to bring the scale to zero.
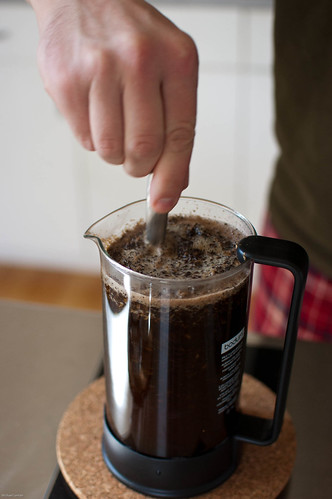
STEP 5: After your water has boiled, let it cool for about a minute so it can reach the proper brewing temperature (about 200 degrees). Pour 1 ounce of water over the grounds and let coffee "bloom" for about 30 to 45 seconds.
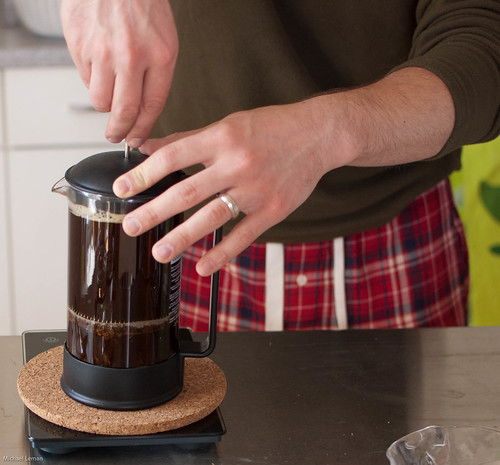
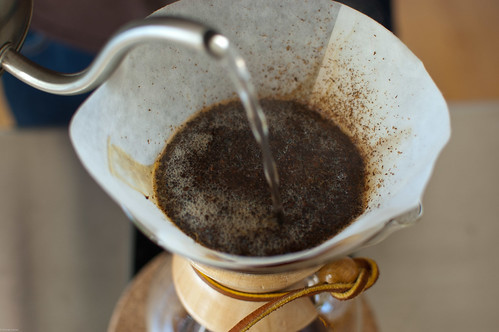
STEP 6: Slowly pour water over the grounds in a circular pattern, starting in the center and working your way to the outside.2 If the grounds reach the top of the filter before all of the water is dispensed, wait for the water to drip through until the grounds recede enough to continue. Once the scale reaches 30 ounces, stop pouring.

STEP 7: Wait until the drips are a few seconds apart. Toss the filter and coffee grounds.
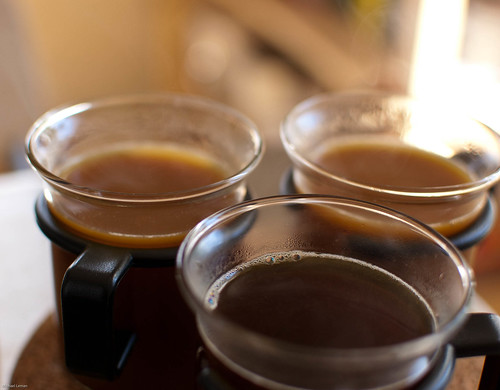
STEP 8: Pour coffee and enjoy!


Footnotes
1: Hario is a Japanese company that makes a variety of coffee products. In this post, I am using their Buono kettle. The function of this kettle is to allow a more precise distribution of water than a conventional kettle. Absolutely necessary? No. Lots of fun for a coffee geek? Yes!
2: Be careful to not pour water on the outside edge of the grounds. By doing this, coffee can escape down the sides of the brewing chamber (rather than down the middle) and will result in a slightly under-extracted and sour brew.